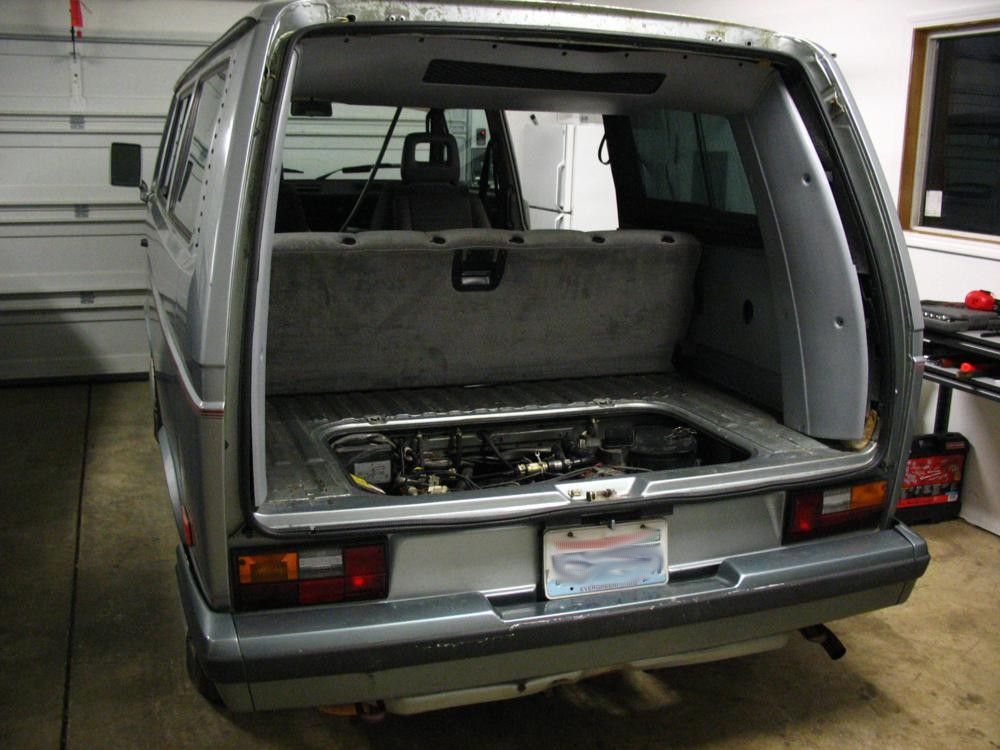
Friday, March 29, 2013

After Market Gauges

After installing a new engine I knew I wanted to have more instruments than the standard Vanagon cluster includes. I had bought some VDO gauges a long time ago for this. My first installation of these gauges was really simple, but after the first test drive I decided the location (to the left of the column under the air vent) was really hard to see. I decided to put them in individual pods right in the middle of the dash up by the windshield.


Even though I had VDO gauges I decided to see if I could make these Autometer pods work. I wasn't too impressed by the VDO style, and they were over twice the cost.
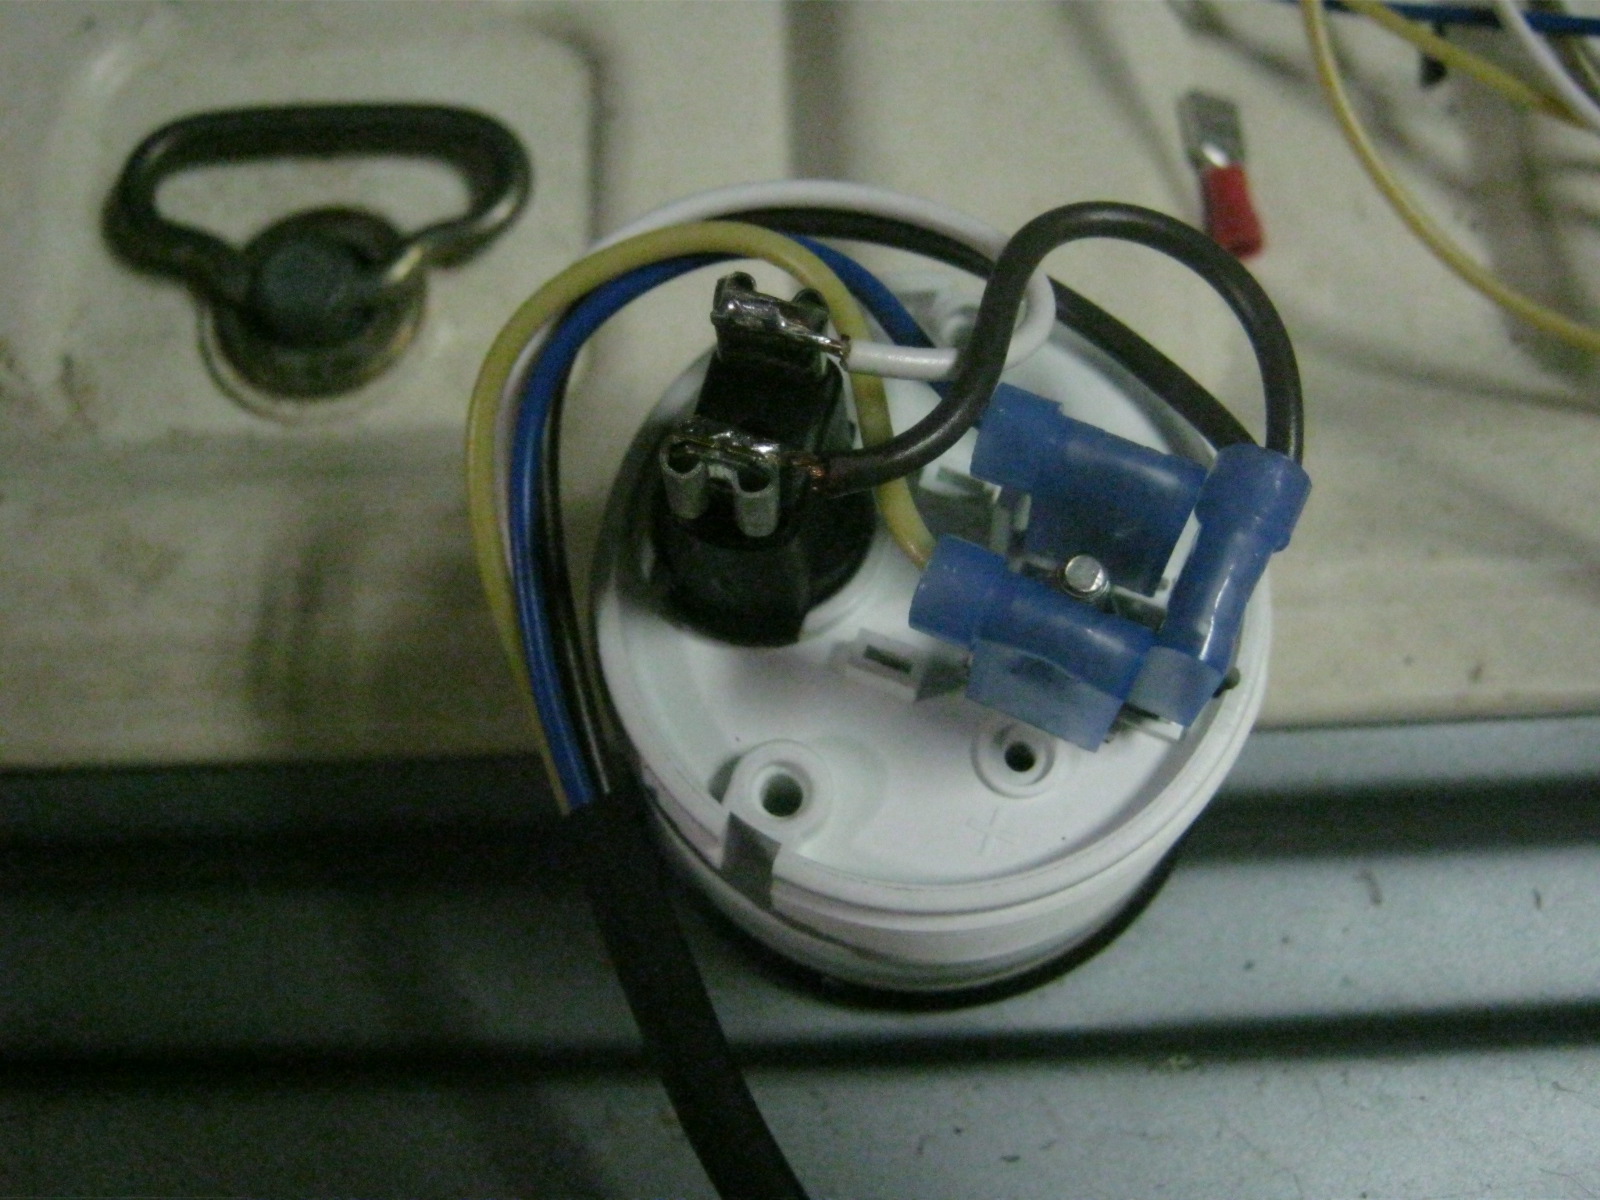
The down side is that the Autometer pod is really too small for the VDO gauge (especially the light holder). I had to do some creative wiring to make it all fit. For the light, I cut off the barrel on the female space connector, and soldered the wire to the side of the connector. Then I curled everything around just so to allow it all to come out the back of the pod.

I put some shrink tube around the wires here they come out.

I mounted the bases so they would be pointing directly at the driver. The grommets had to be shifted to the side a little to fit.


I added some terminal strips near the glove box.

Here they are hooked up. I ran 6 wires to the engine bay (right terminal strip). Only two of them are being used so far (oil pres. and coolant temp.). The left strip provides grounds (brown), ignition switched power (yellow), and dimmer controlled lighting (white).


Here's how they look installed.

And in the Van. With a big cup they block the left gauge. Eventually I'll put the voltage gauge there since it's the one I use the least.


Wednesday, May 30, 2012

Engine Rebuild

I got a EJ22 with 137K miles on it to use for the new Vanagon project. The plan was to use it for a while, and then do a rebuild sometime down the road. When I removed the oil pan to take a look though, I saw quite a few metal flakes, so I decided to get it rebuilt.

After looking around I decided check with Colorado Component Rebuilders Inc. (http://www.ccrengines.com/). They seemed pretty knowledgeable on the phone, so we worked out the details, and today FedEx Freight picked up the engine.


Here it is wrapped up and bolted to the pallet.

Off it goes...

Friday, May 18, 2012

Throttle Body

There was quite a bit of corrosion on the throttole body, so I decided to paint it with the silver POR 15. After degreasing it as much as I could I removed most of the moving parts. Before I removed them though I took some pictures of various adjustments so that I could get them back pretty close when I put it back together. I also took some overview pictures to help me get things back together later.

Throttle position sensor adjustment before removing.

More set screw adjustments:


Overview of linkages:


After most moving parts were removed (I left the butterfly in), some areas were taped off. I just used a cheap disposable brush.


Putting everything back together wasn't has hard as I thought it would be. I grouped parts in zip-loc bags to help me remember what went together.



Saturday, March 10, 2012

Pulling the Wasserboxer

It's time to take out the old engine...

I removed the rear door. I had to open up the AC covers to access wiring to the door.

Here's the new engine waiting to go in.

Before...

Starting to disconnect and remove things.

The beginning of the parts pile.

I decided to jack it up at the cross member ahead of the rear wheels.


Weight is on the cherry picker now.

I put a furniture dolly under the engine/trans-axle.


The floor jack supports the trans-axle while the mount is removed.

I couldn't get the engine all the way onto the dolly because the cherry picker was in the way.

I put cross member on jack stands to get the cherry picker out of there.

Once the cherry picker was gone, I could lower the engine one side at a time with the floor jack.

With everything out of the way, it rolled right out on the dolly.

You can see here how high I had to get the jack stands to clear the engine sitting on the dolly. It probably would have been safer to jack the front some too.

 
It's out!